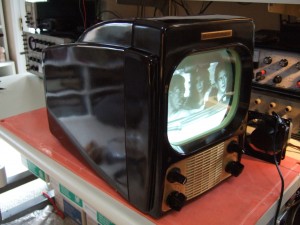
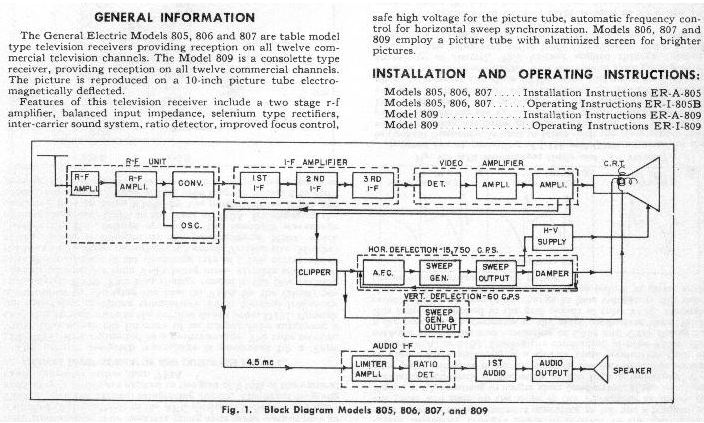
The General Electric model 805 10″ Bakelite vintage TV is often referred to by collectors as the “Locomotive.” I picked up this vintage vacuum tube television in relatively clean condition back in 2004 at a CHRS-KRE swapmeet in Berkeley. The set “worked.” Well, sort of. The CRT’s picture was fuzzy and lacked contrast, the tuning was off for most channels, the video and sound couldn’t be tuned in simultaneously (your choice: do you want to watch the picture or listen to the sound), and the sound was barely audible. Other than that, the set “worked.” Still, this vintage TV was such a clean beauty, I decided it deserved a full restoration and alignment.
This tabletop B&W TV is enclosed in a beautiful brown, all-bakelite cabinet, and a wood version is also available. This set was popular in the late forties, and featured a transformerless design to help reduce cost and weight. The tube filaments are wired in two series strings, so if a single filament fails, half the tubes won’t light up. A filament failed during the restoration of this set, so it required pulling a fair number of tubes to “ohm out” the defective filament.
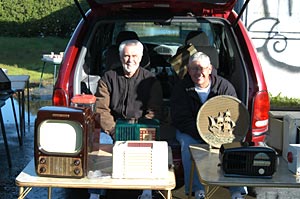
There’s the GE 805 at a swapmeet almost screaming out, “Buy me please.” No, I wasn’t looking for another TV. But how could I resist? Not that I had space. The first thing Julie said, upon my return home, was “Where are you going to put it?” Good question. Never mind the set’s higher “wife acceptance factor”, or WAF, than my “uglier” ham radios. You’ve probably started restorations only to get waylaid. That’s what happened to this little Locomotive. For years it “lived” on my hamshack bench, only partially restored, while I waited for the time to finish it. Business and family life kept me too busy, and the dust just collected. Fast forward to 2011, and I got tired of seeing it in pieces. I got it done, and done right. Whew!
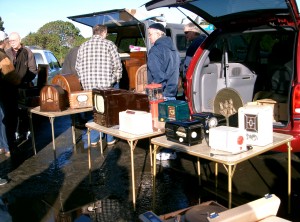
Vintage TVs are quite reliable once you get rid of the paper capacitors and dried-out electrolytics. How these sets worked as long as they did with leaky paper capacitors, I’ll never know. Modern mylar caps perform wonders in these sets, and you’ll be surprised how good the set can work. I don’t leave a single paper capacitor behind, no matter how difficult to replace. Even if a paper cap is good today, it will only go bad tomorrow. And the leakage current under working voltage is responsible for many an early tube failure. Interestingly, vacuum tubes only rarely seem to be the problem, and the circuits will often work very well with a tube that reads poor emission on a tube tester
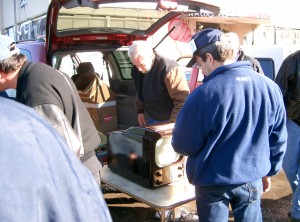
Indecisions, indecisions. The seller was packing up to go home before I’d stared at the set long enough to take the big, gruesome plunge.
More collectors should consider working on televisions. Sure, even with radios you often run into a “tough dog” that can wrap you around the pole. But vintage televisions can present you with more serious intellectual challenges and, if you’re like me, you’ll almost always need to “hit the theory books” to learn some bit about what’s going on. Fortunately, the books are readily available and easy enough to understand. It’s actually nice to learn something new with each set you work on. What’s a damper stage? Where is the sound takeoff? What’s going on with this flyback transformer? And the smoke? What’s with all this smoke every time I turn it on? You can find plenty of “how to” books at swapmeets and on ebay for a few bucks.
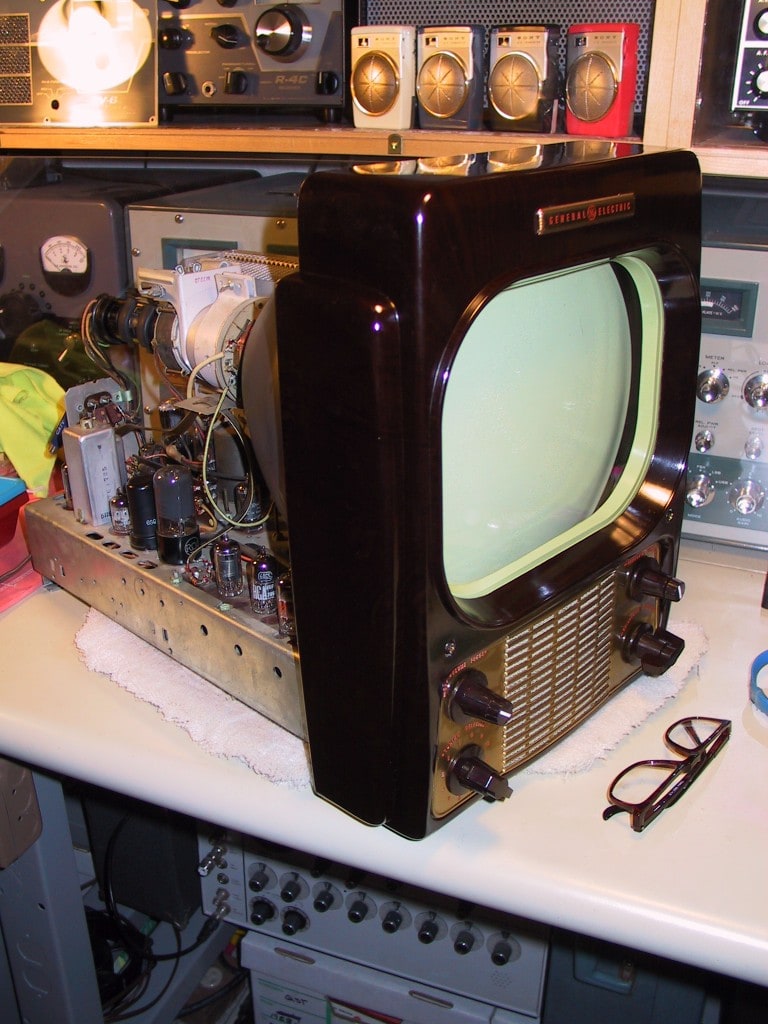
There are various versions of the chassis, some with several “floating” grounds, each at a different potential with respect to another. My chassis was a later “W” version, so I was fortunate to only have to deal with one “ground.” Be prepared for a LONG, LONG warmup — 2+ minutes before you’ll even hear that first bit of hiss from the speaker. Even with this warning, the first time you turn on this set, you’ll be tempted to think it’s dead as a stone. The filaments won’t light up right away due to the use of a thermal resistor to suppress the initial filament-current surge. Until that suppressor warms up and lowers its resistance, not a heck of a lot will happen. So just sit back, pet your dog, and wait. That’ the way it was in the late 40s.
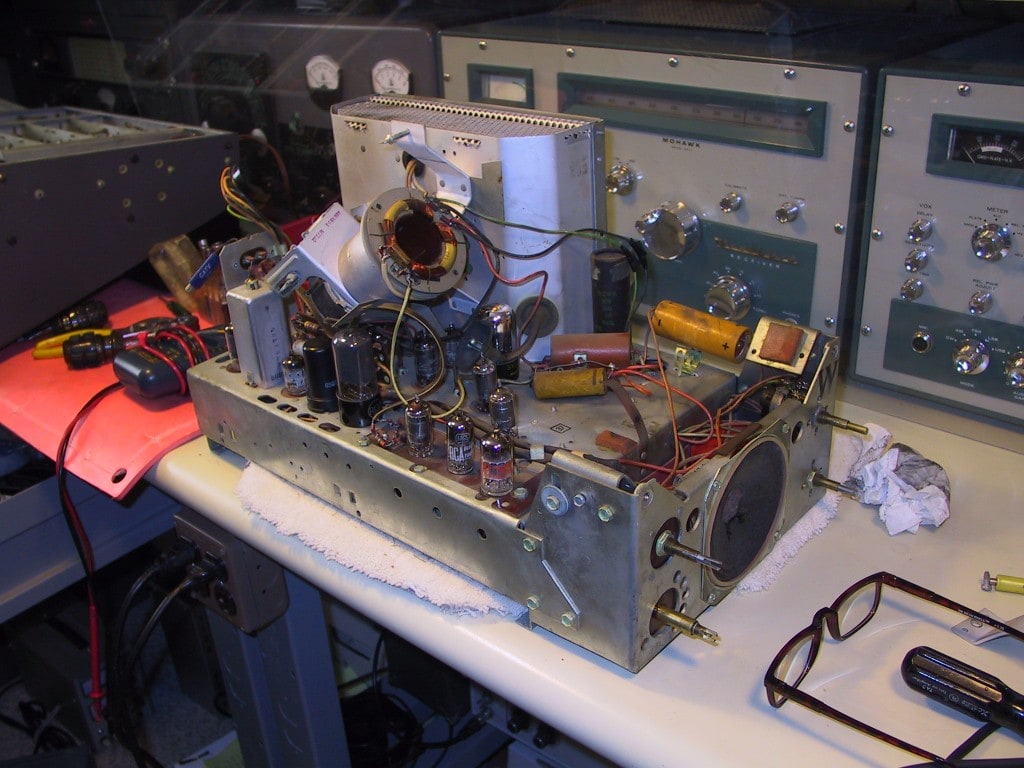
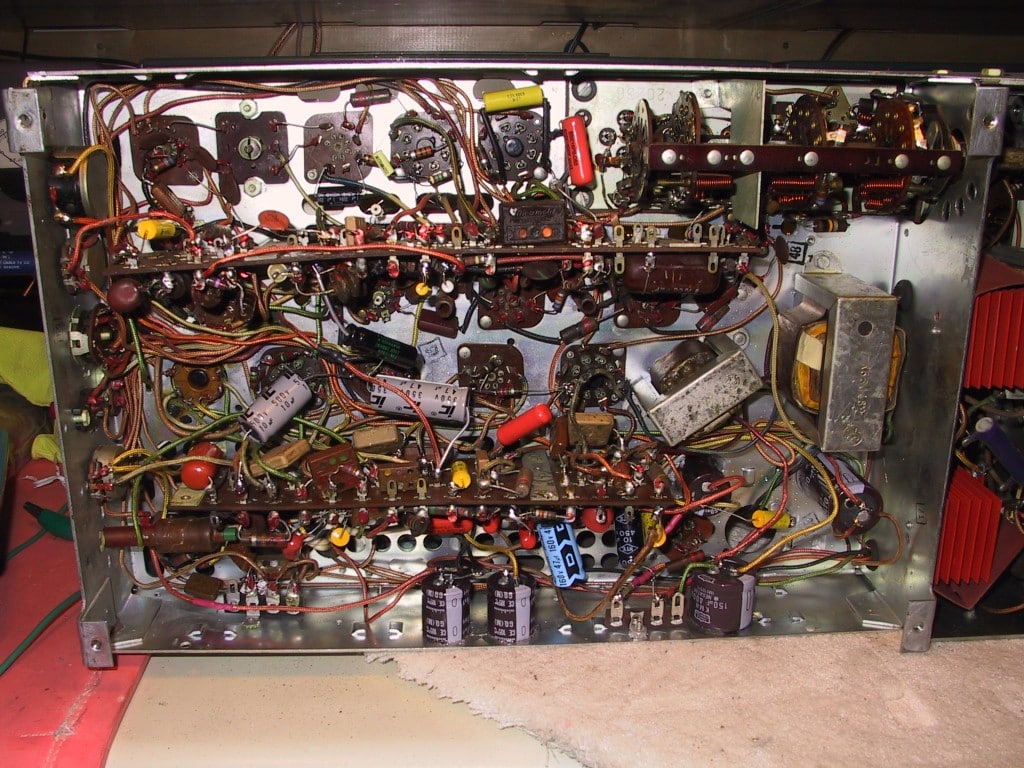
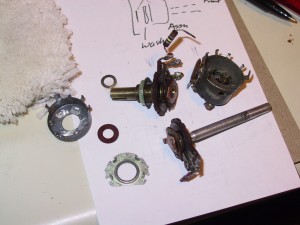
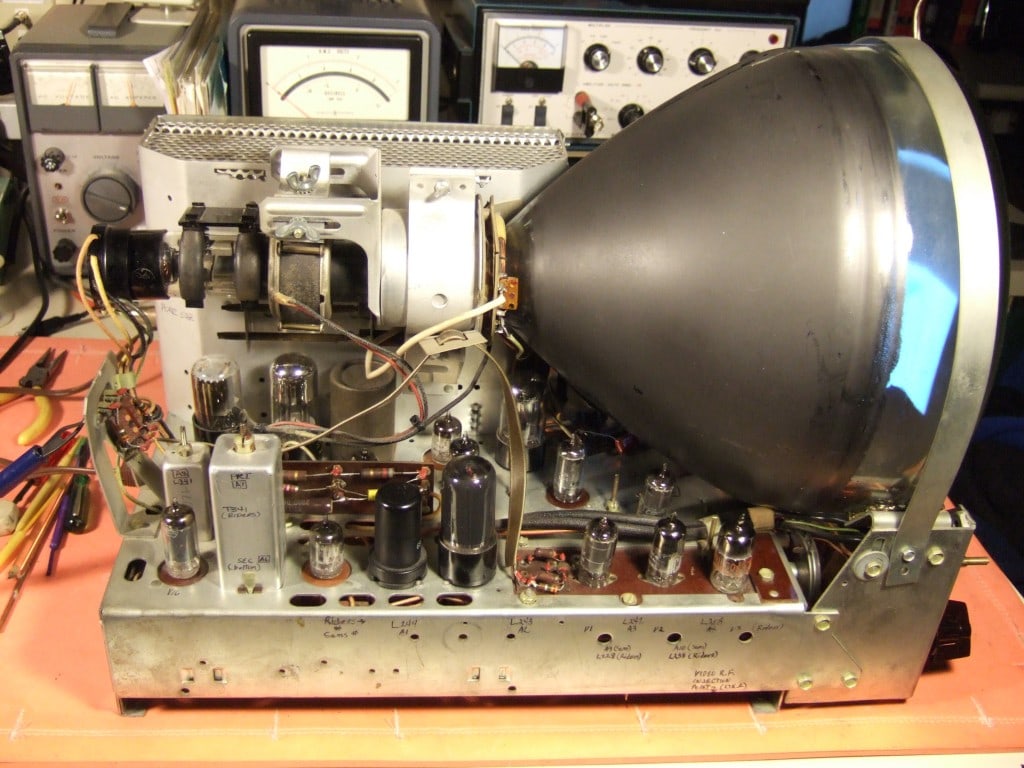
Thankfully, the picture tube tests quite good. Every project has a big challenge. I had to “rebuild” the focus pot for this set. It had opened up and I couldn’t find anything even remotely close to this dual gang pot.
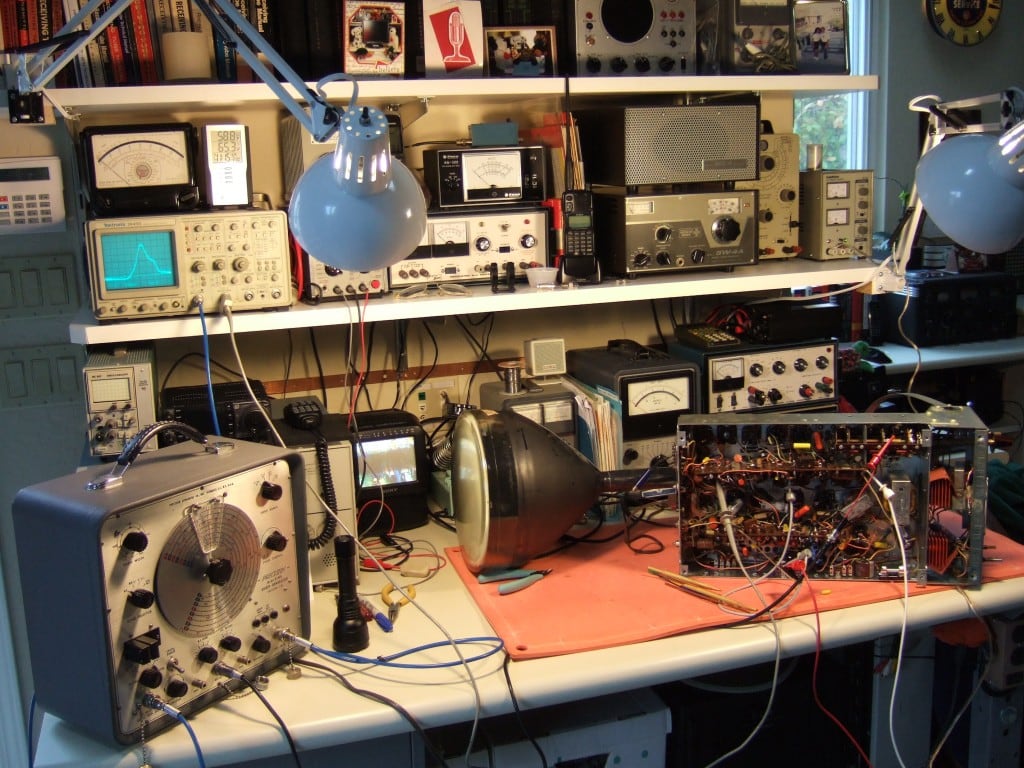
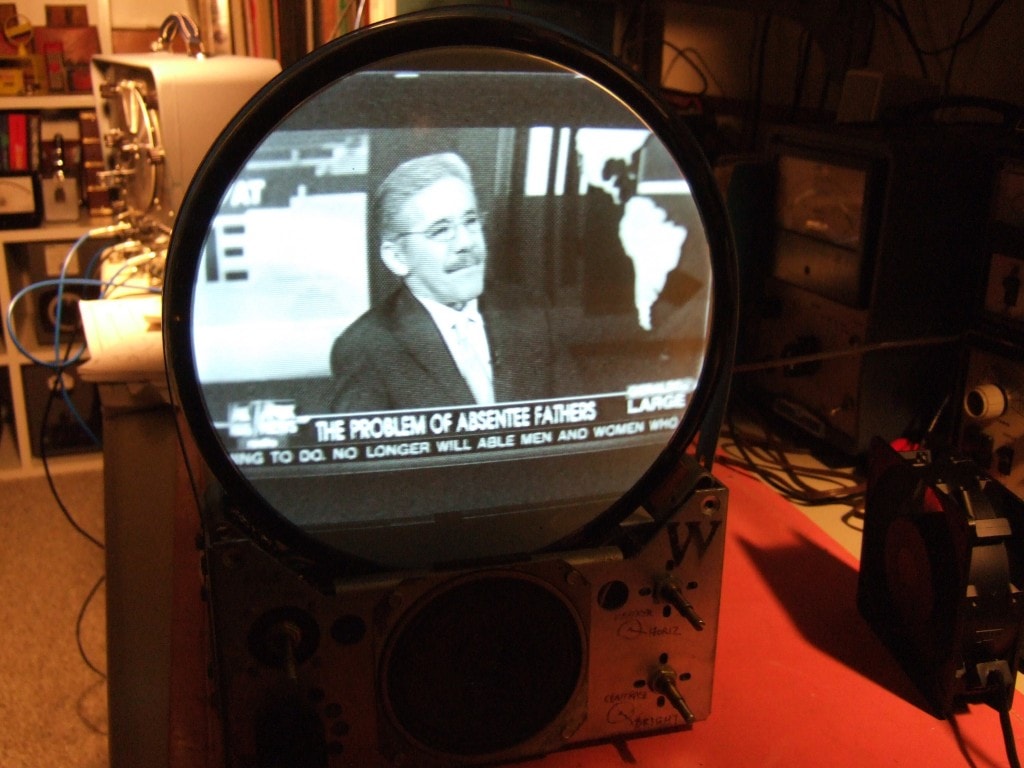
This is the alignment setup using a fully restored Precision E-400 Sweep/Marker Generator. The display on the oscilloscope shows the initial video IF alignment, which was far from ideal. Still, it was good enough for the set to make a picture.
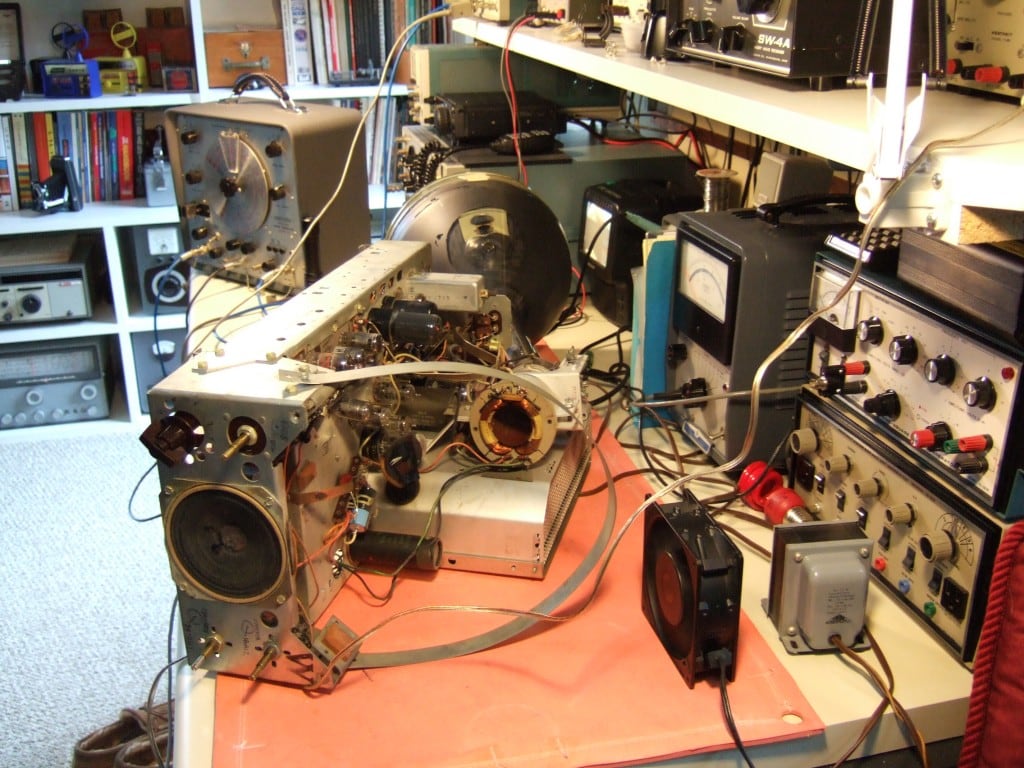
Note the isolation transformer at the right and the fan to keep it cool. This TV has a “transformerless” power supply, so you don’t want to work on one of these unless you use an isolation transformer. Mine was rated barely big enough to handle this TV, so I had to use the fan to keep it cool.
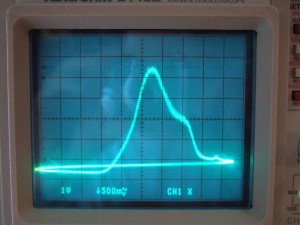
Video IF passband frequency response BEFORE alignment. Not good. Someone probably tried to align this set by watching the picture and peaking the IF stages for maximum brightness. This would have improved receiver sensitivity, but at the expense of less detail in the picture (a narrower IF passband reduces the frequencies that can be processed by the subsequent video sections). Proper alignment requires the use of a sweep/marker generator so you can set up the IF stages for a proper wide-frequency passband.
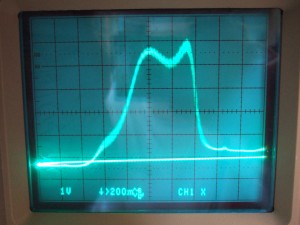
Video IF passband frequency response AFTER alignment. This set presented some serious alignment challenges which required doing the job several times to optimize all the necessary compromises. Part of the problem in this set stems from the tuner, which I couldn’t quite align correctly without fully removing it from the chassis. I figured that diddling with the tuner would have taken another 80 or more hours of work, and hence was not worth the extra trouble. The final result was a somewhat less sensitive receiver, but since off-air reception is no longer a consideration in this age of digital-only broadcasts, a high-signal level cable hookup was required anyway. Unless they bring analog TV back, less receiver sensitivity was a compromise well worth making in favor of improved picture and sound.
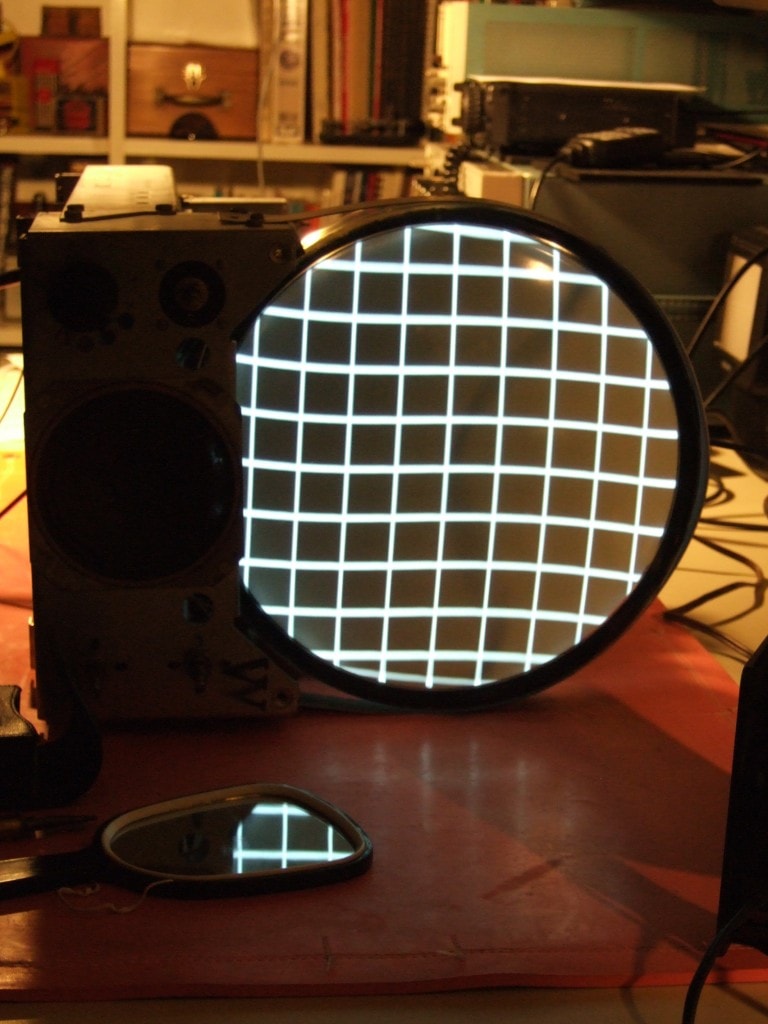
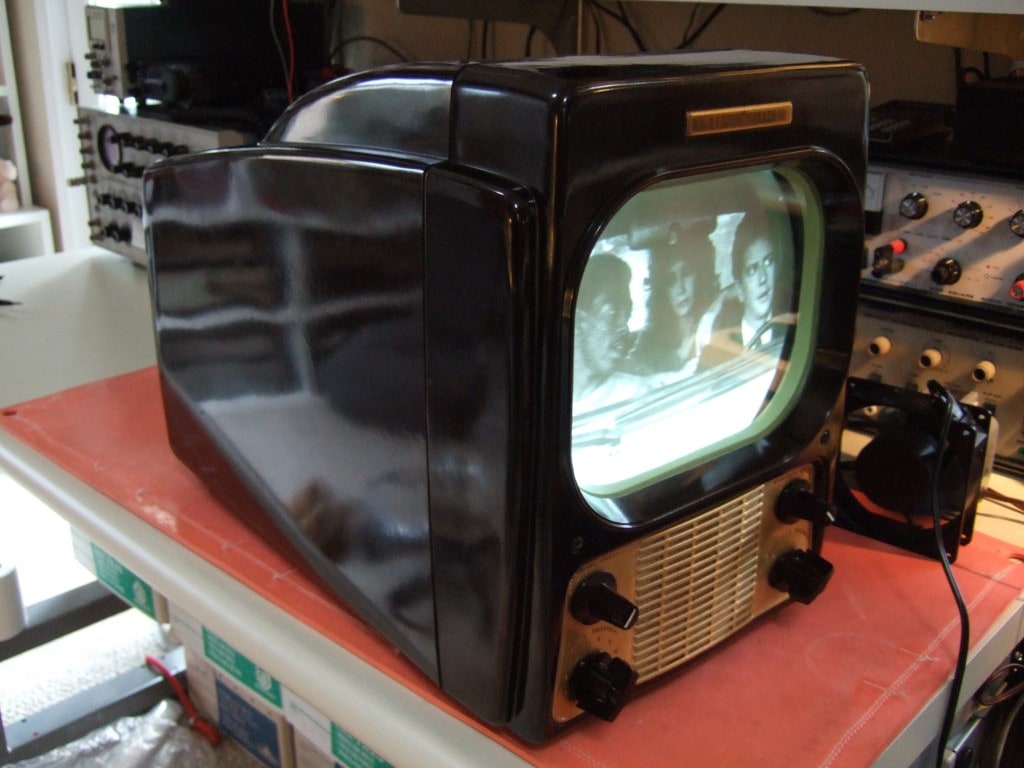
Finished TV with a shot from “Beverly Hills Cop”. When it was finished, we watched an episode from the early 60’s science fiction series “Outer Limits”. I set up the viewing for my young nephew by imaging that it was 1950, and we were one of the few people in the neighborhood to own a “state of the art” television. While the few neighbors who actually had televisions were still watching either 3″ or 7″ screens, we were the envy of the neighborhood with our much bigger 10″ screen. Of course, this modern marvel cost a fortune, but what a gem!


Hello great info, any idea what this set is currently worth in restored condition
The restored value probably covers a wide range as there are so many levels of “restored.” The one I bought was supposedly “restored”, which in this case meant that someone had changed out one lousy electrolytic to make it work (with only a dim picture and almost no audio). Ha!
The set I have has a pristine cabinet with no cracks, and the chassis works perfectly after replacement of all the out of tolerance caps and tubes and resistors and then a full alignment. With that said, I’d put a value on the set of about $400, Ebay is probably a better guide to discover the full range of values.
Wow Thomas! Super work down to the last detail. I am amazed with the knowledge level to achieve your results. I recently acquired a 1969 vintage Sun Engine Analyzer I hoped to put to work in my auto restoration hobby. It seems after hours of research and contacting people, no one works on the oscilloscopes. This scope is so elementary in comparison to your TV resto. My very limited electronics knowledge leaves me in the dark. I know the picture tube is fine and the paper caps are in need of replacement. The main transformer is in question. I don’t have the knowledge to calibrate the scope even if I got it going. I don’t want this thing to die and go away without a fight. I have lots of photos. Any suggestions?
You might try the directory of restorers on this web site. Oscilloscopes aren’t impossible to work on, but the difficulty is usually locating a schematic and alignment procedure. Without the manual it becomes much more of a shot in the dark. Because this is more difficult than an old radio to work on, you should be prepared to spend some $$ as this could take someone a considerable number of hours to fully restore and align. That said, once it’s restored with modern capacitors, it will probably last nearly forever.
What great looking little TV. Love the classic look with rounded corners not a square edge to be found. Great job on the resurrection. I’m sure you have many more hours into the restoration than its retail value would bring. But clearly that was not the point. You have brought back a small piece of history. Thanks for sharing. I’ll now be keeping an eye open for my first TV project.
hello, Great restorarion!! Im currently restoring another 805 like yours, i live in Argentina, still here we are using analog tv so still we can use it with an aereal antenna. The tube has good bright. I have not the equipment to calibrate the IF channel but apparently still is aligned. Also I did the restoration of the volume/ focus potentiomenter.
Only problem I still have a some kind of ripple in the horizontal raster, result, the edges of the image is not a perfect line.
All the electrolitic are OK in value, but i think the original design for 60 hz bring this kind of ripple when using at 50 hz raster.
I will need to modifify the original design in order to bring back the stability of the image/lines edge.
Interesting that the oscillators can be pulled all the way from 60 Hz to 50 Hz to lock the vertical. Replace all the paper capacitors, that may also make a difference.
DonAhlquist3 on FB
SOME TV’S AVAILABLE from basement find: 2 RCA Victor, a Packard Bell, a Silvertone and an unknown. Photos available, located in San Leandro.
Phone 707 410 7340 ASAP!
Hello, I am so amazed by your set. I have an identical set that was in the attic of my Dad’s house and he did not want it. ( a house he bought) I have no electronic ability and want to sell the set and give him the money. It is in beautiful condition, and if plugged in begins to make some noise after a few minutes. How would I find a buyer for this?
Lori Dzierzek
Beautiful. What a job you did! I’m beginning research for the restoration of an RCA metal case circa 1948. This has been very helpful. Thank you.
Hi,
This is a really neat TV. Would you consider selling it? I am looking for a restored set like this. Thank you
No, not interested in selling it.
As in the picture of the ge805 above, with regards to the gold colored metal plate on front. Where can I go to get metal like that re-plated? would prefer that over just painting it. I am asking as I have an old TV that has decorative metal trim that needs to be refinished
I haven’t had to do any plating. A Google search will probably yield some results in your area. If you have it plated in brass, you could clear-coat it with lacquer and then fill in the lettering with paint and it would look like new.
I have a GE 805 would be interested in selling has no power cord